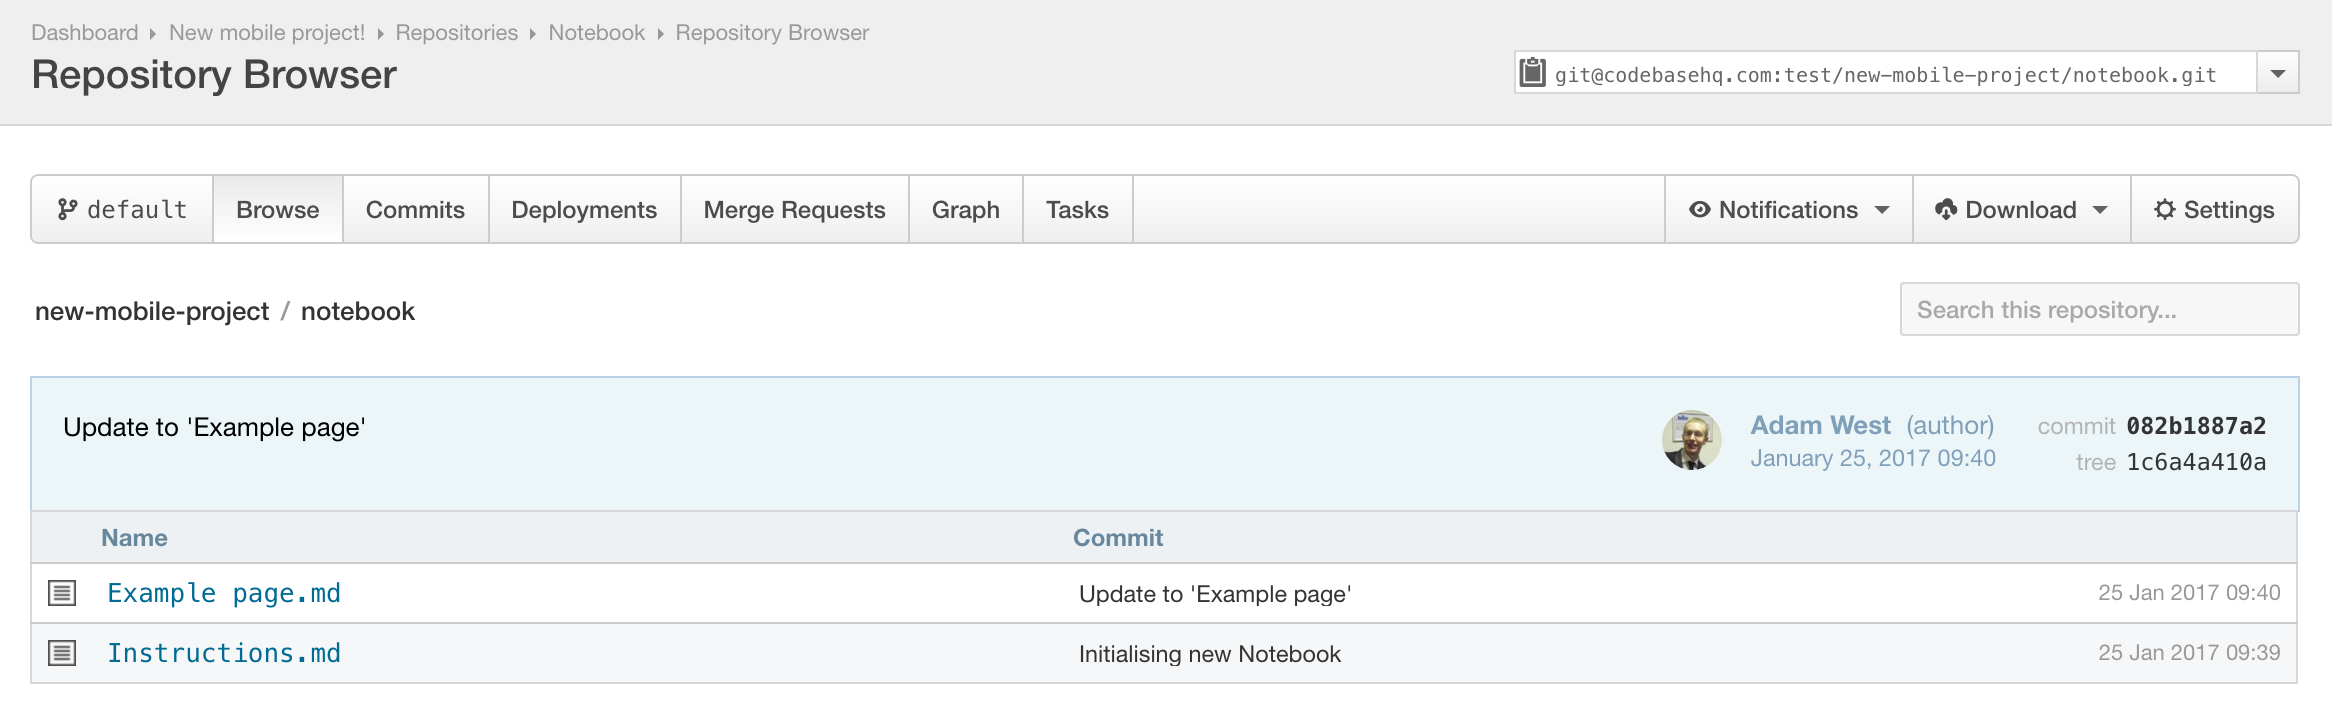
To edit the notebook locally you will first need to browse the notebook as a repository to find the repository's URL, located above and to the right of the browser like any other repository in your project:
Next enter your command line / terminal and locate a directory to clone your repository to
$ cd project
Then assuming you have Git installed and your authentication is in place you can create a clone of the remote notebook repository using the following command. (replacing git@codebasehq.com:your/repository/path/notebook.git with your repository URL)
$ git clone git@codebasehq.com:your-account-domain/repository/path/notebook.git Cloning into notebook... remote: Counting objects: 13, done. remote: Compressing objects: 100% (11/11), done. remote: Total 13 (delta 0), reused 0 (delta 0) Receiving objects: 100% (13/13), done.
Do a quick directory listing to check that notebook is there.
$ ls Example Page.md Instructions.md
you can then modify the example page in a text editor and then commit the changes to git just like you would a normal project. To commit the changes run the following commands.
$ git add . $ git commit -m 'Update Notebook' [default 9595858] Update Notebook 1 files changed, 3 insertions(+), 1 deletions(-)
To push the changes back to your remote repository you would use the following command.
$ git push origin default Counting objects: 5, done. Delta compression using up to 2 threads. Compressing objects: 100% (3/3), done. Writing objects: 100% (3/3), 333 bytes, done. Total 3 (delta 1), reused 0 (delta 0) To git@codebasehq.com:your/repository/path/notebook.git 2cb2d42..9595858 default -> default