To update a ticket firstly browse to the ticket you want to update.
There are a number of ways to get to a ticket, for example, if you can see the ticket in your project overview then you can simply click on the ticket title to take you directly to the ticket editor.
However, one of the best ways to look for a ticket is by using the ticket browser, firstly locate
All Tickets under the Tickets tab.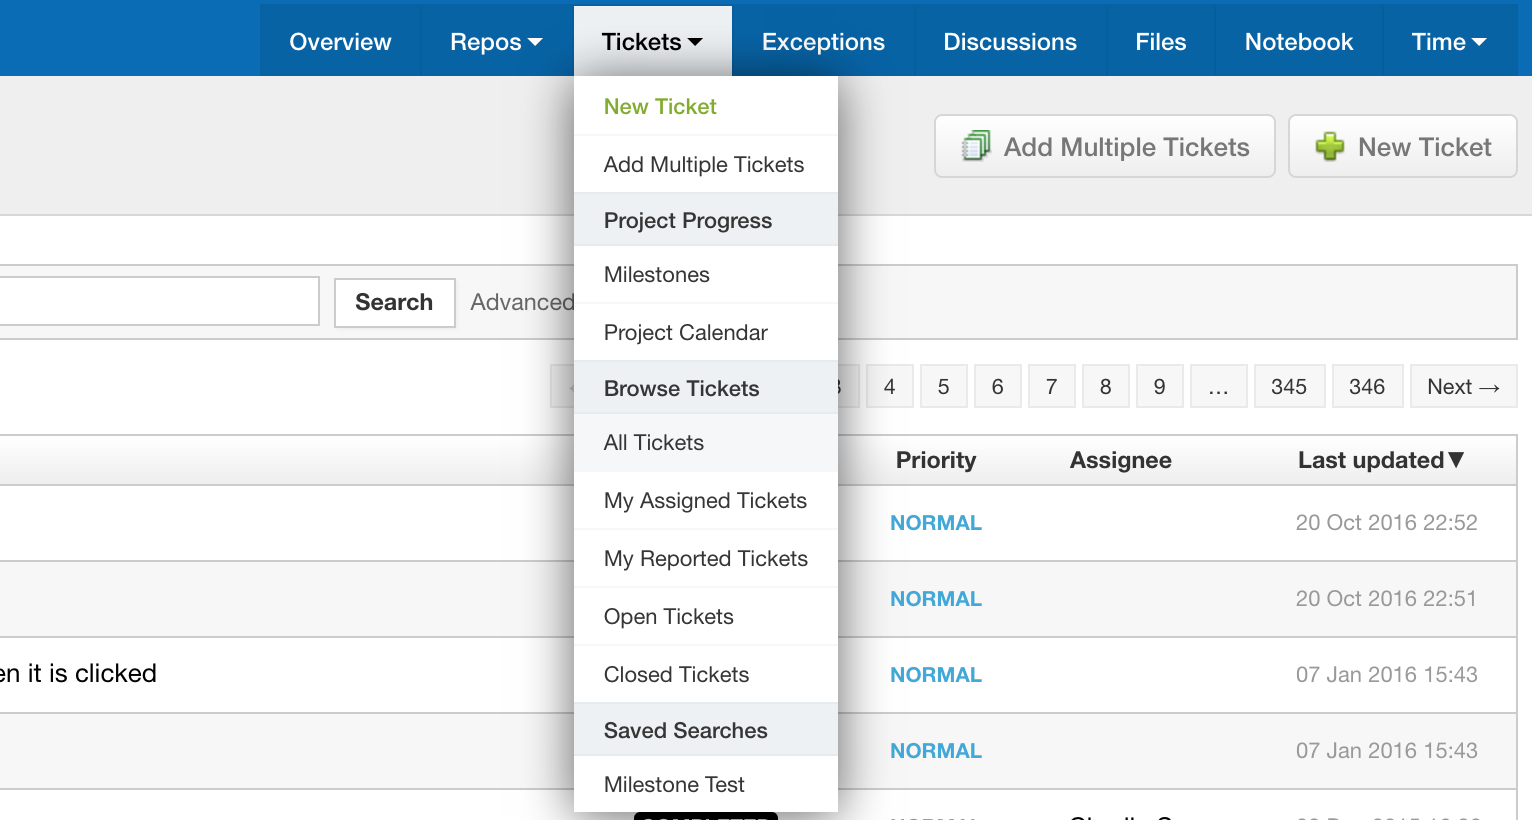
Search for and select your ticket from the browser; clicking the title or the ID to go to the ticket view. More information on ticket searching can be found in
this article.
In the ticket view you will see all the history of that ticket in chronological order, with the latest updates showing at the top: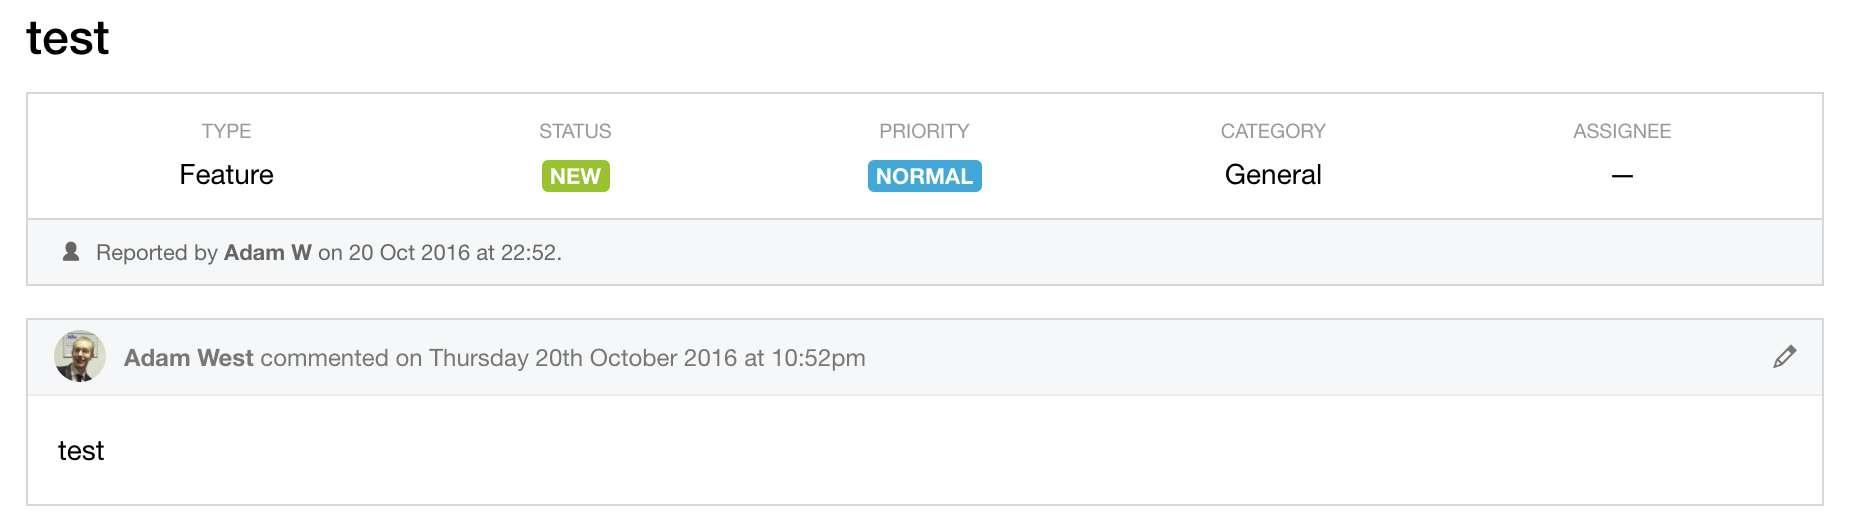
As well as adding additional information to the ticket using the text box in the above screenshot, you can also update/modify the tickets properties via the tabs below, this feature includes all the same drop downs and elements as when you created the ticket: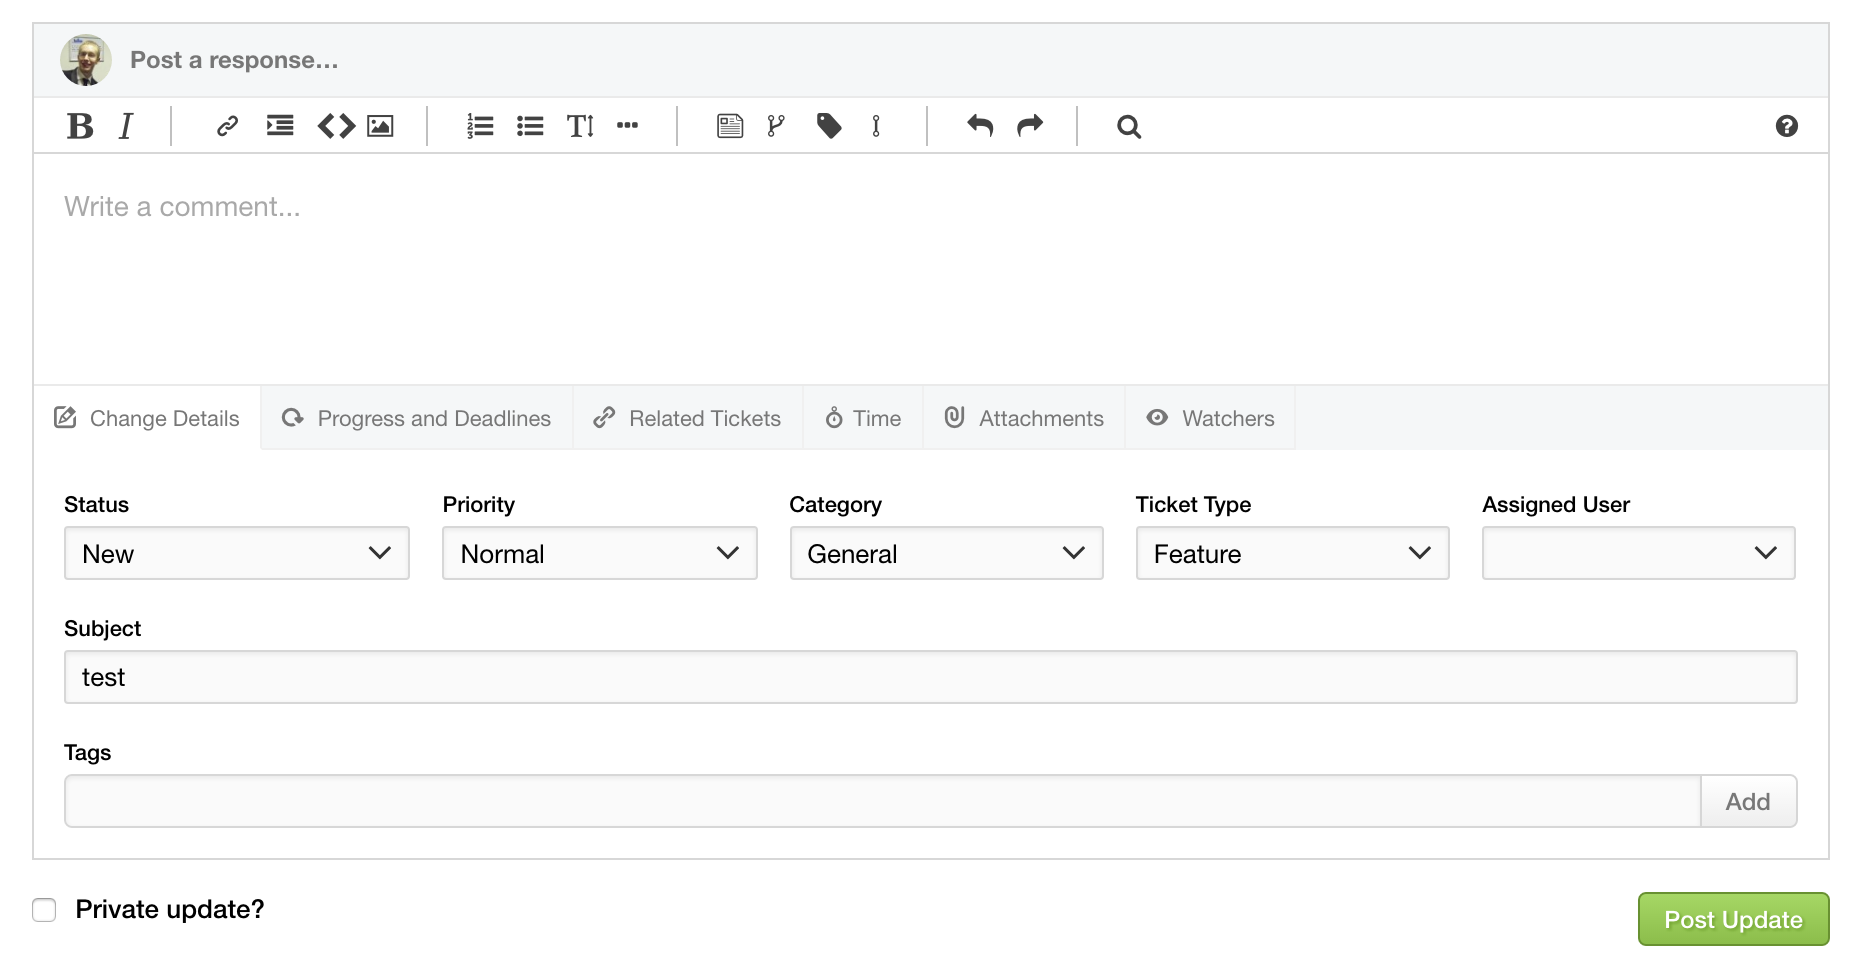
When you're finished adding your update, just hit Post Update at the bottom.
Please note that any users without the role permission "Can edit ticket update content belonging to any user at any time?" selected will need to wait at least 5 minutes before being able to post a subsequent update to a ticket.