In order to submit a ticket via email, you must have this feature turned on in the project settings.
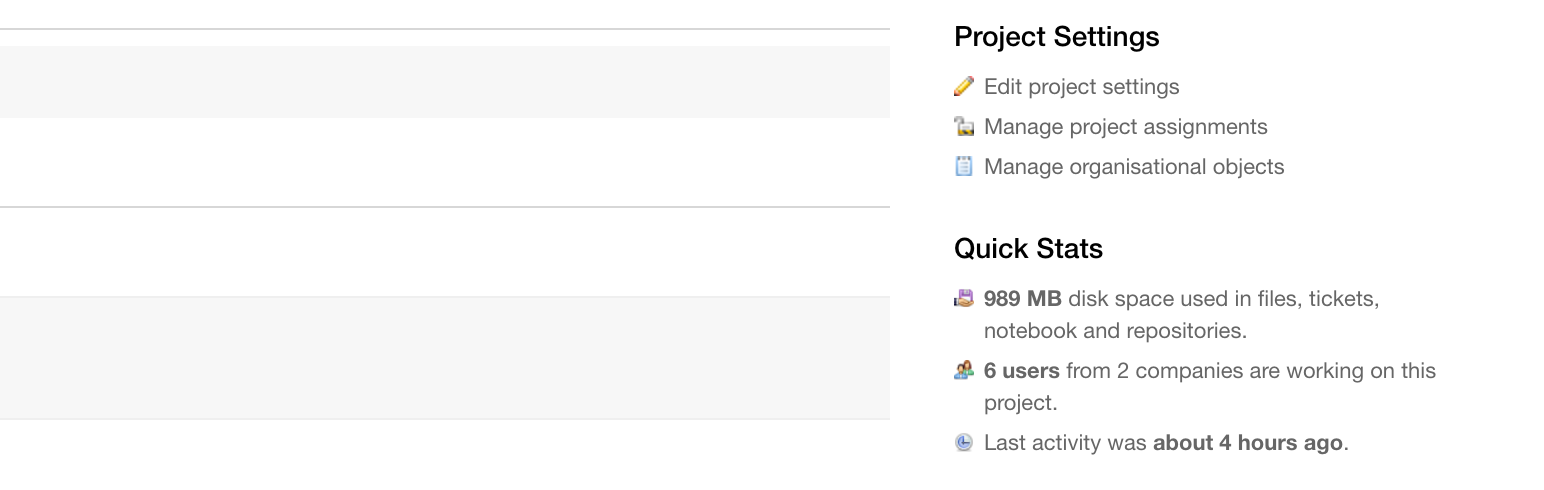
Navigate to the project that you wish to configure this feature for and in the right hand bar click on Edit project settings:
Navigate to the Tickets tab, then select the Yes option under the Incoming email? dropdown: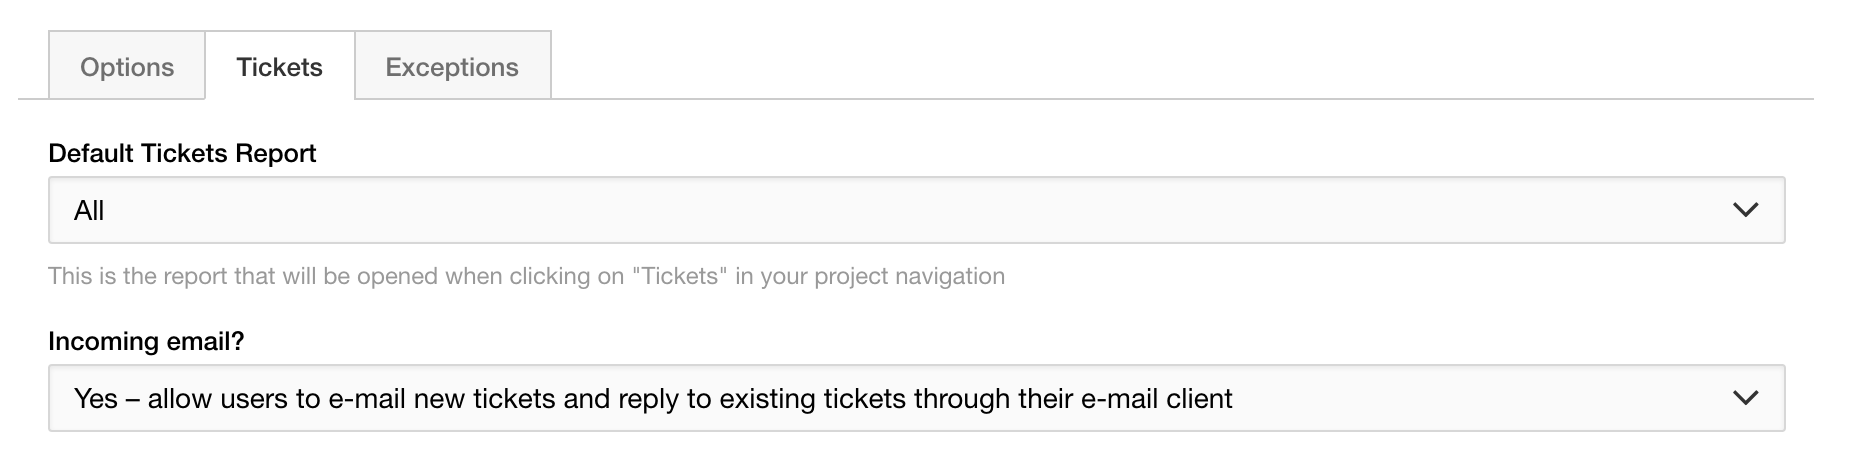
Then click Save Project Settings to finish.

After completing the above steps when you navigate to the All Tickets page, you will notice at the bottom there is a new incoming email address that you can use to submit a new ticket to.

Incoming ticket variables
When submitting a ticket via email, the subject will act as the ticket title and the body of your email will be submitted as additional information. You can include some variables in your ticket content to set ticket attributes such as priority, status and ticket type. A full list can be found below, just substitute the values with those from your own project.
- {status: STATUS}
- {priority: PRIORITY}
- {category: CATEGORY}
- {type: TYPE}
- {assignee: ASSIGNEE_USERNAME}
- {time: TIME_IN_MINUTES}
Accepting unrecognised senders
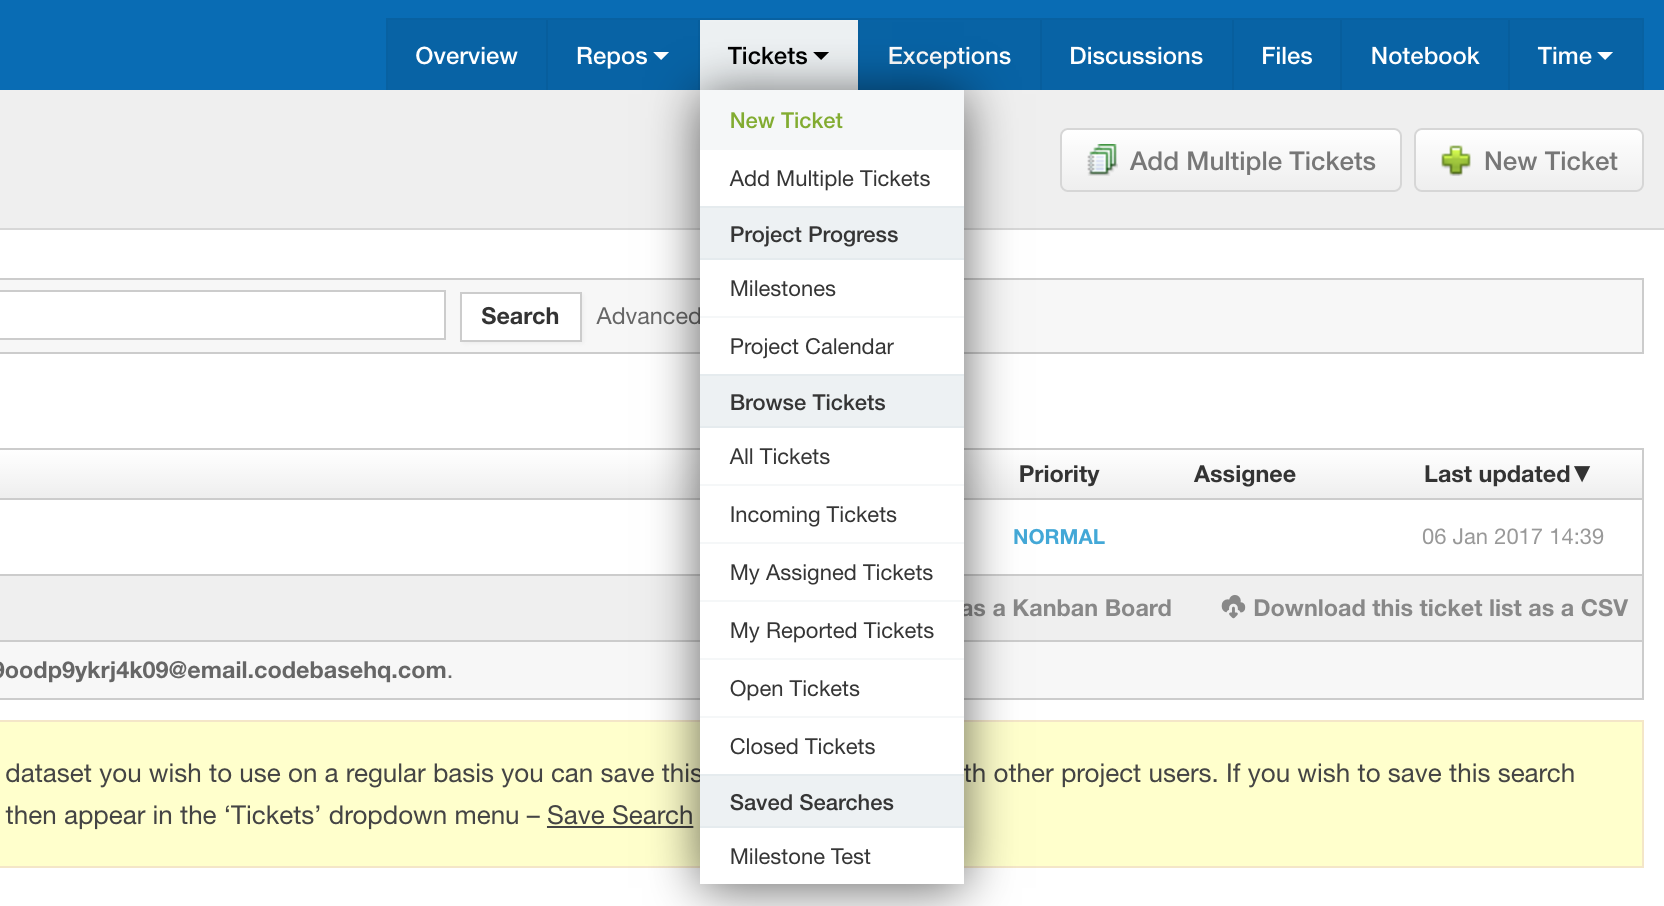
If a ticket comes in from an unrecognised email address, you'll need to look for it in your Incoming Tickets menu, accessible via the Tickets tab within a given project:
Once there, any tickets submitted will be listed with the option to either Accept or Reject them.