You may find you need to split a ticket into two tickets, which you can do straight from the ticket editor by selecting the appropriate update to split the ticket at.
In order for a user to be able to split tickets, they'll need to be assigned to a role which has the permission "Can edit ticket update content belonging to any user at any time?" assigned.
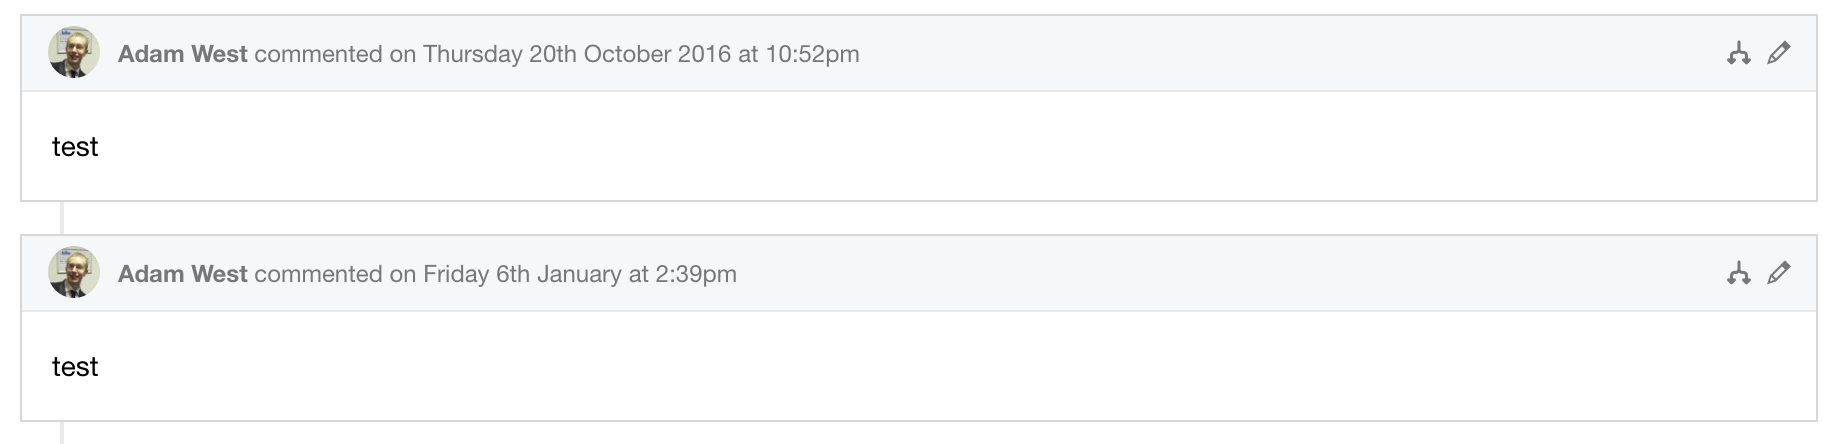
To start, head to your chosen ticket, then click the option to the right hand side to Split ticket into new ticket:

Once this option has been clicked, you'll find a split icon appears at the top-right of each ticket update; click the icon next to the update you want to split the ticket at:
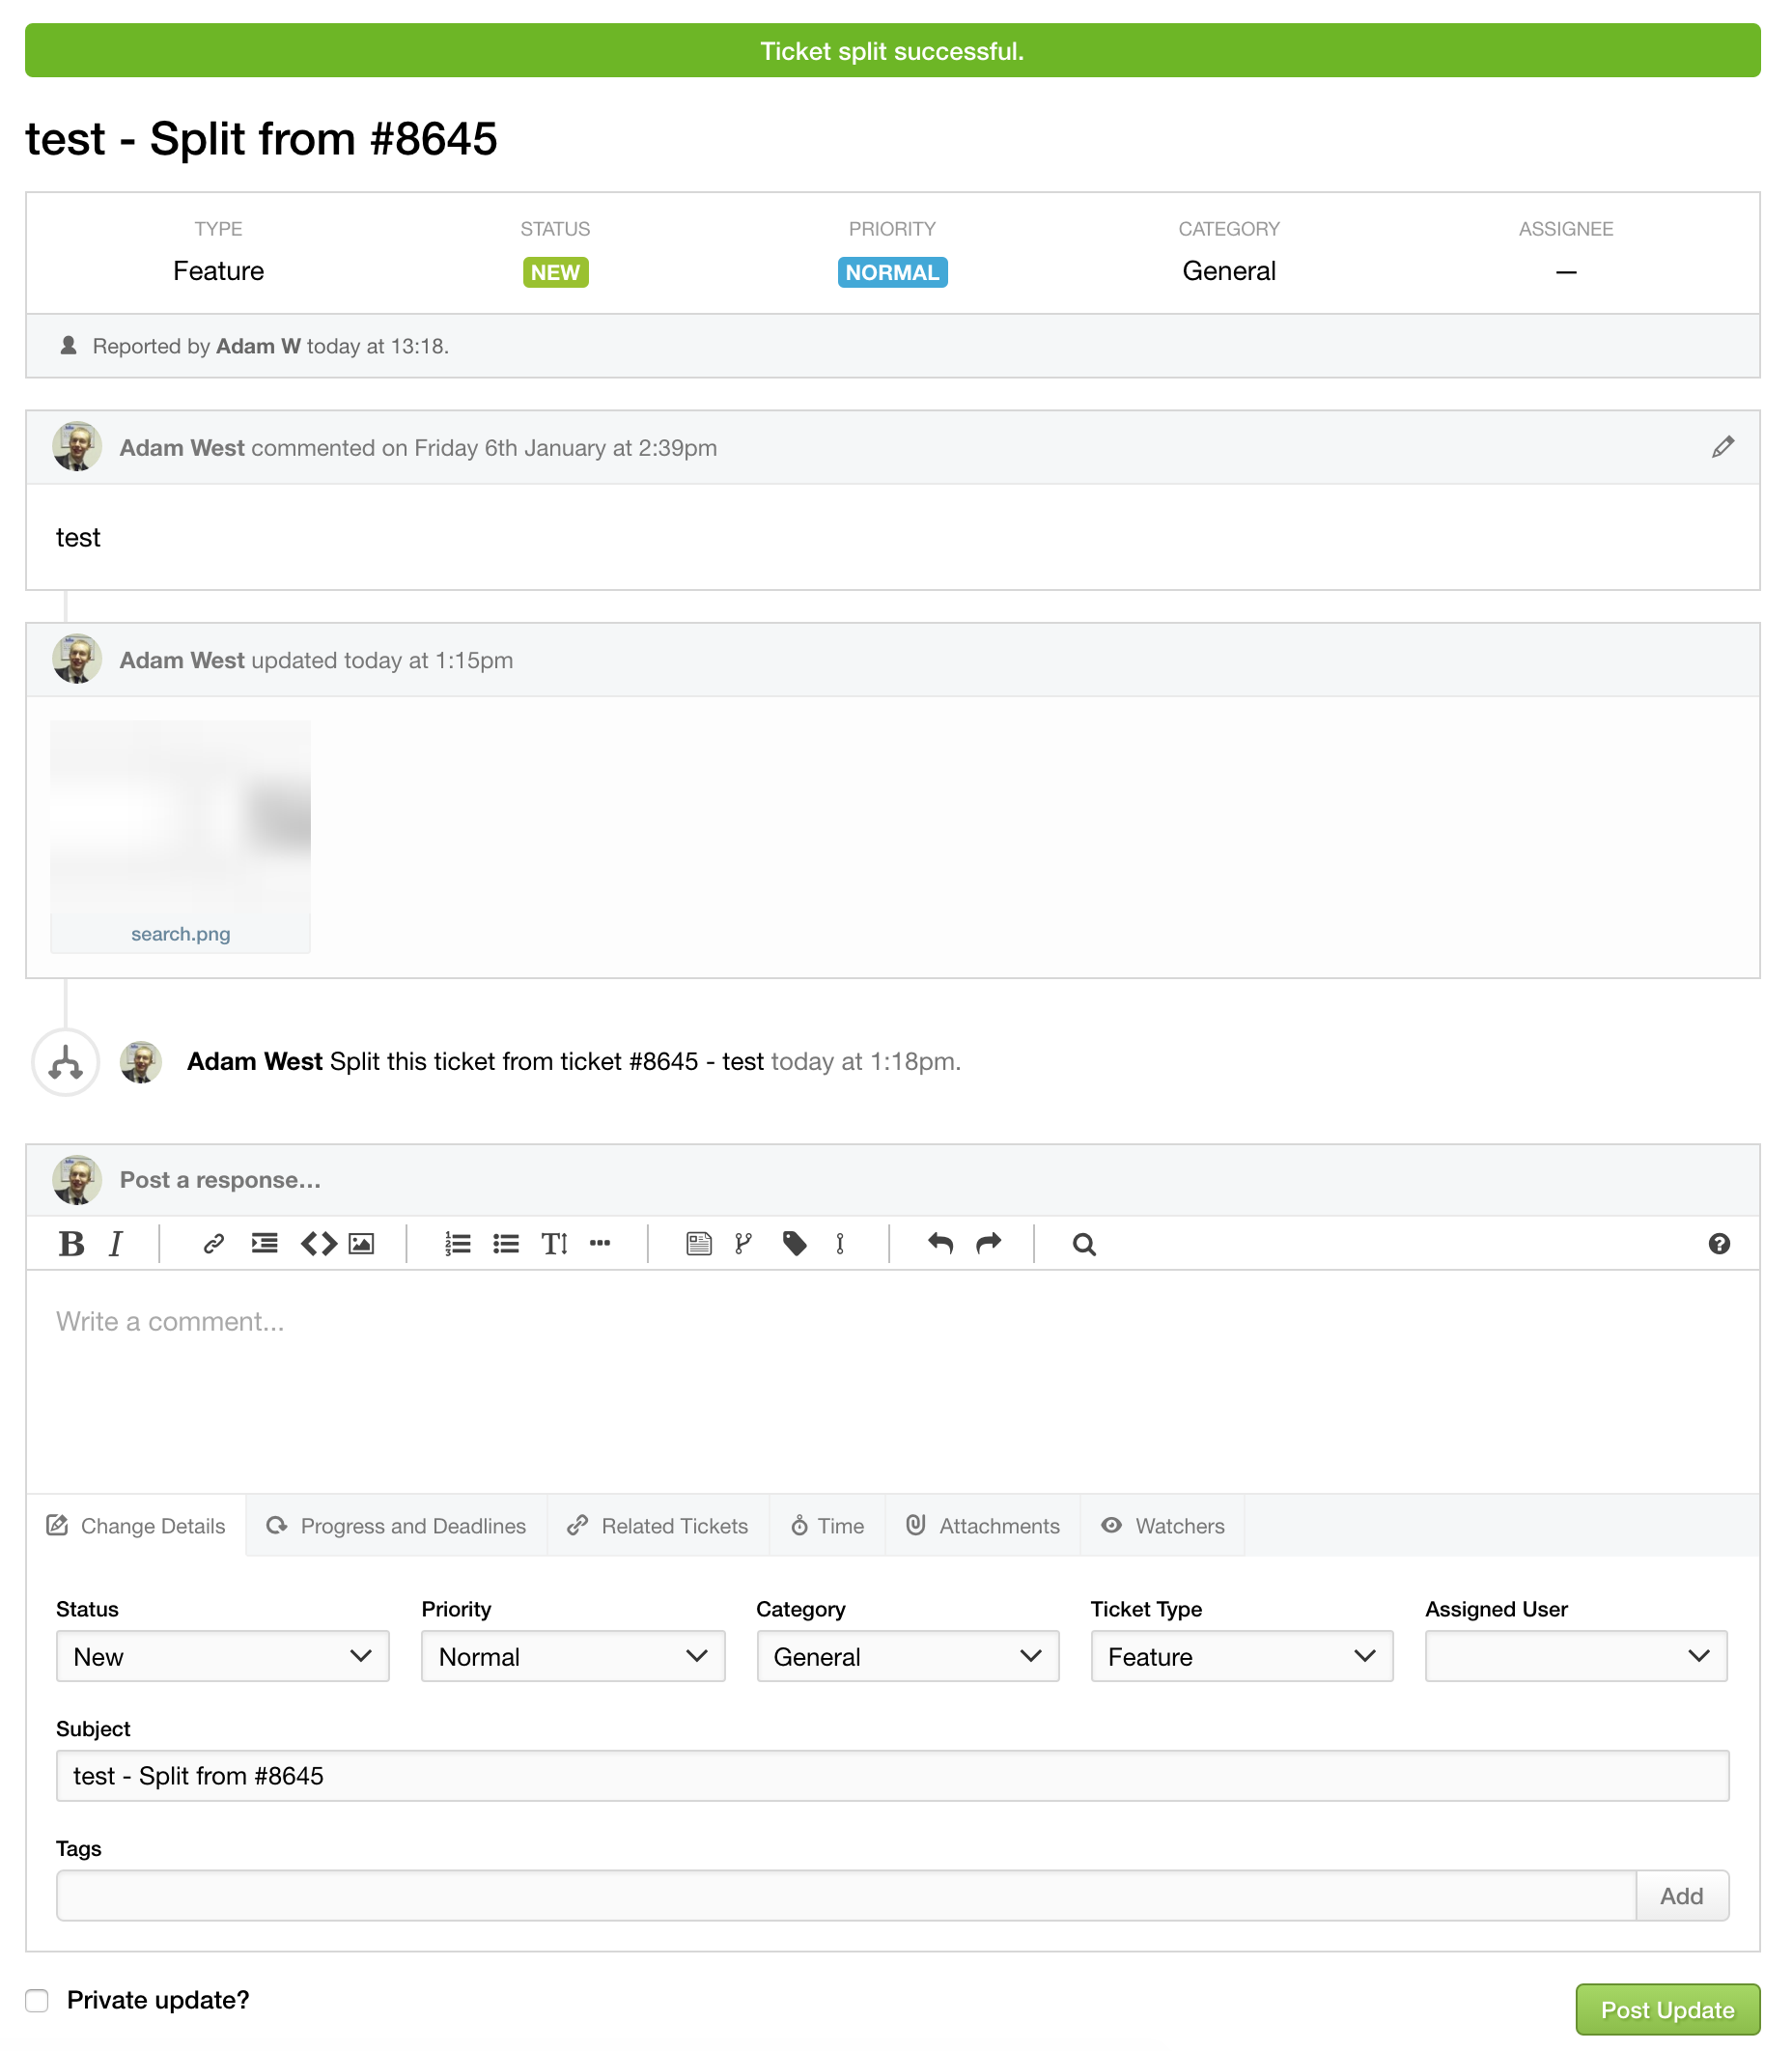
Following acceptance of the prompt you'll be taken to a new ticket that contains that part of the ticket separately:
Customising the split method
You can also choose the behaviour when you split a ticket in terms of how the new ticket is genereated. To customise this behaviour, navigate to your chosen project's overview, then click the Edit Project Settings link to the right hand side of the page: 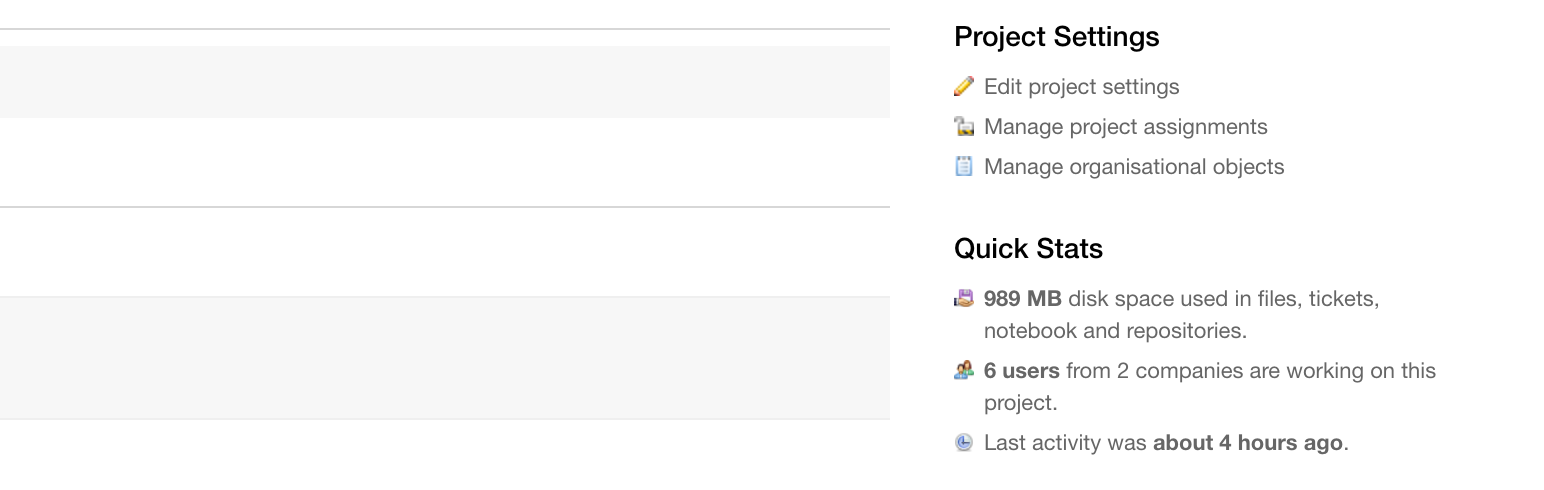
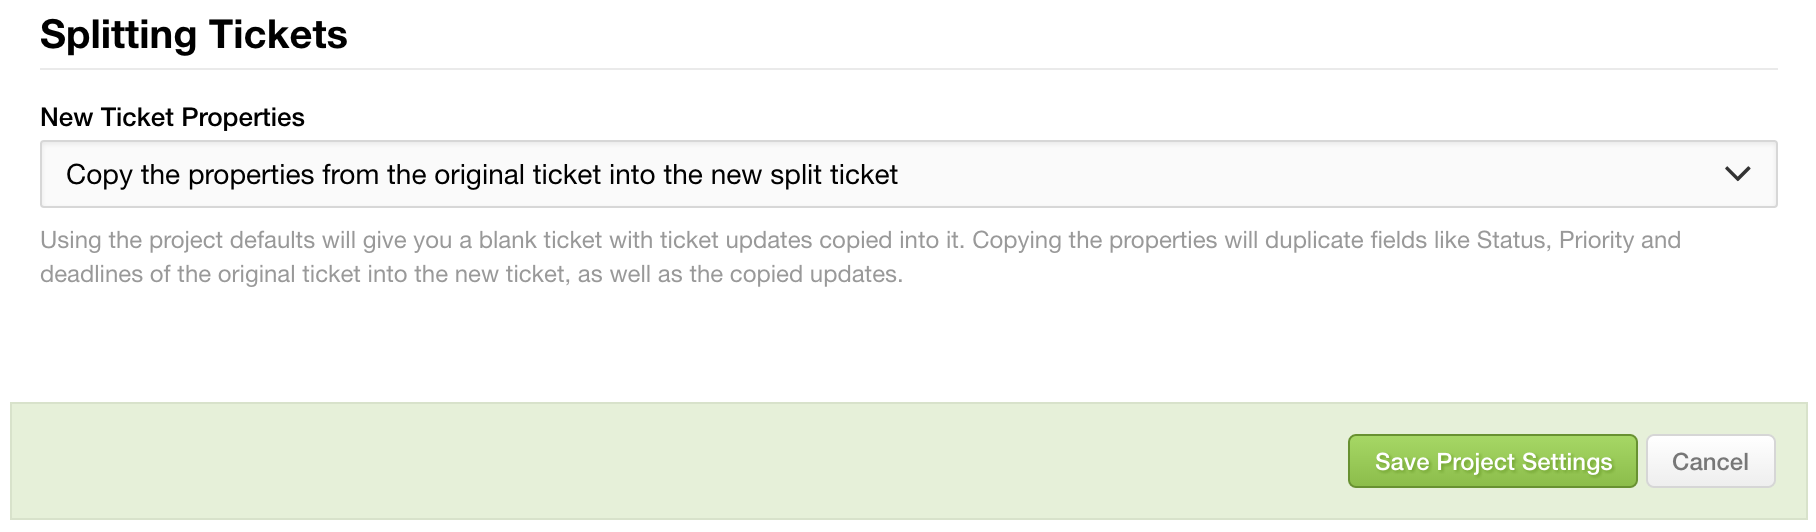
Navigate to your Tickets tab, then under Splitting Tickets choose from one of the two following options:
* Copy the properties from the original ticket into the new split ticket
* Use the project default properties when creating the new split ticket
These properties can be managed via your project's Organisational Objects.