To create a ticket, browse to the Overview of the project that you wish to add a ticket to and click the New Ticket button:
Or click the New Ticket icon from the Tickets drop down from anywhere with in the project:
You will then be presented with a new ticket creation page, just enter a subject and a message / description for the new ticket: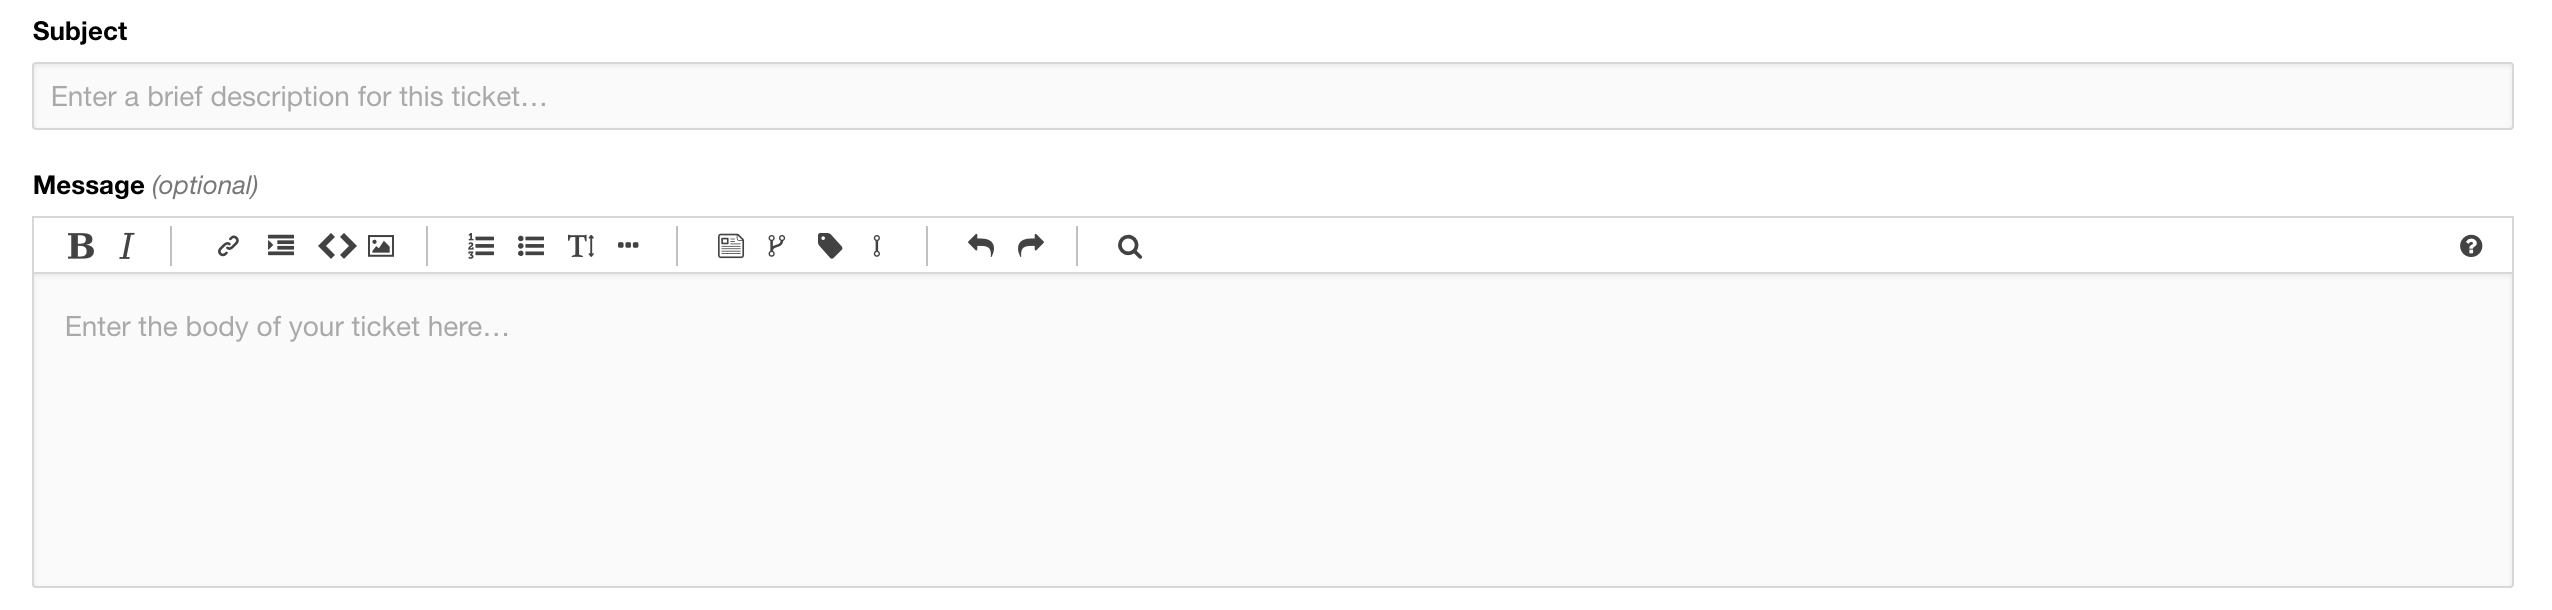
Below this you will see a number of tabs, the first tab, Ticket Properties allows you to change the tickets status, priority, category and ticket type. It also allows you to assign a user via a drop down:
The second ta,b Progress and Deadlines allows you to attach the ticket to a milestone or a sprint (depending on how you've configured the project) and also select a start date, a deadline and an estimated time/effort: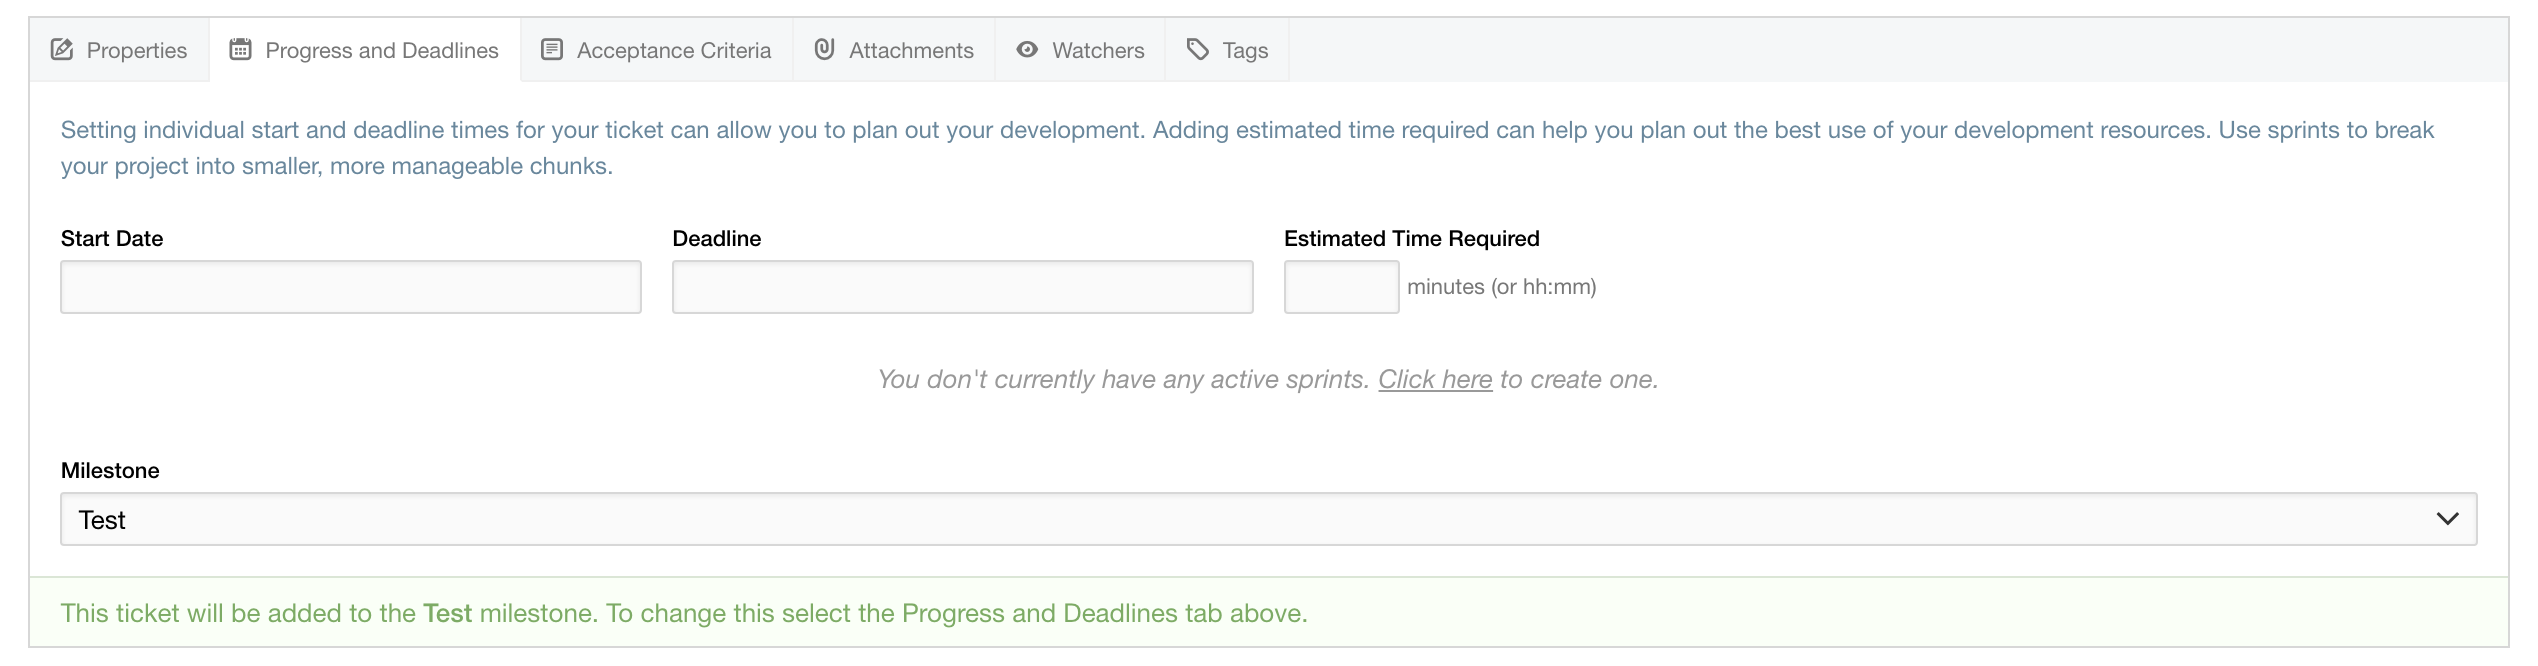
The third tab, Acceptance Criteria allows you to enter a number of different criteria for the ticket, that must first be satisfied and marked as completed before the ticket can be resolved:
The fourth tab, Attachments simply lets you upload an attachment along side the ticket, this is particularly useful for screenshots and images:
The fifth tab, Watchers allows you to select users that you want to be notified by email when this tickets status changes:
The final tab, Tags allows you to add any desired tags to your ticket:

Finally, you can choose at this point whether you wish the ticket to be private, checking the option will hide the ticket from anyone who does not have permission to view a private ticket. Then to Create the ticket, click Create Ticket and you are done.